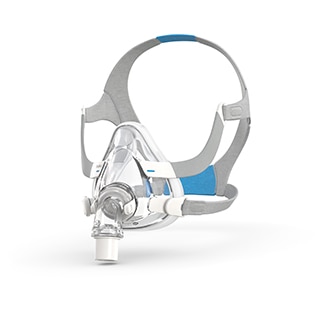
AirFit™ F30
Small, quiet and designed for freedom
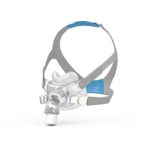
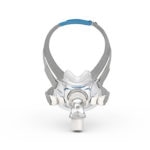
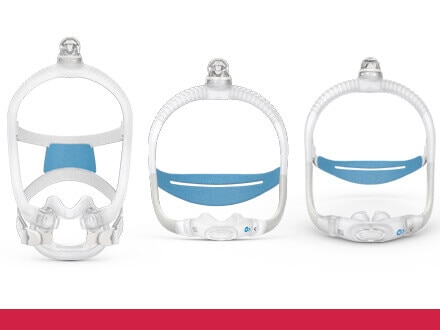
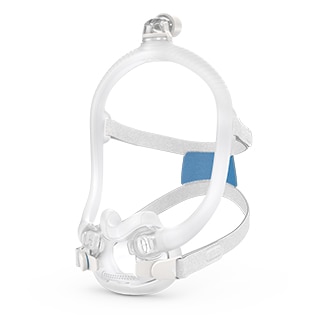
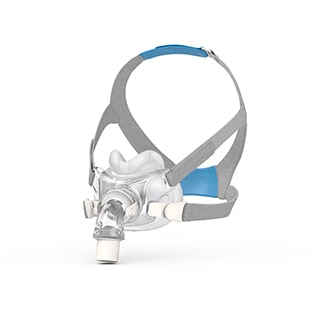
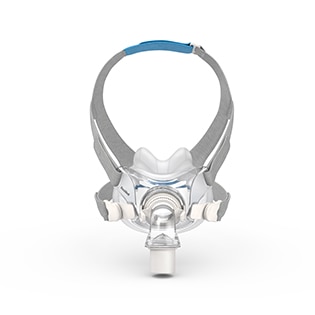
Ultra-compact mask delivering full face functionality in a small, quiet1, comfortable format2. The snug cushion of the AirFit F30 nestles under the nose, offering more visual and physical freedom and eliminating discomfort and red marks on the nasal bridge.
The mask contains magnets that may interfere with certain implants or medical devices. Please refer to the user guide for complete information, including magnet contraindications and warning.

Visual freedom
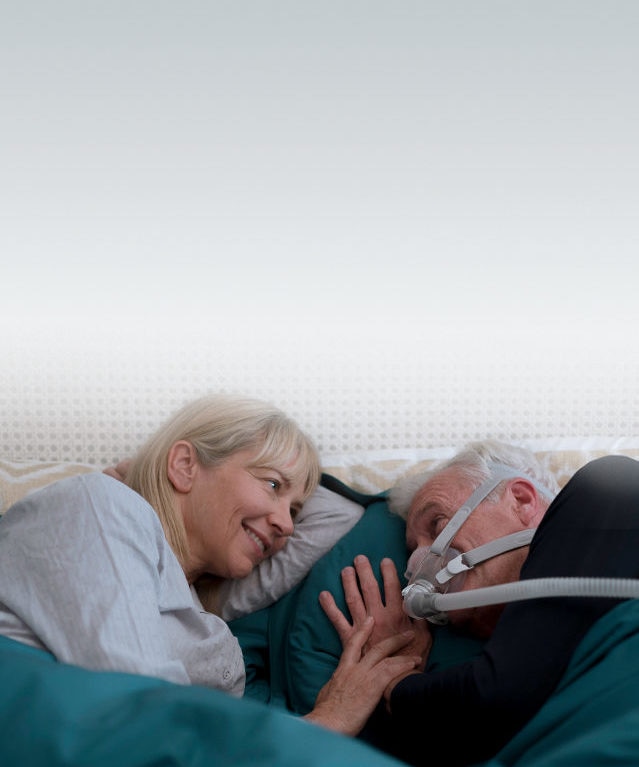
The under-the-nose design means the AirFit F30 is noticeably smaller, more discreet and more attractive than a traditional full-face mask. With nothing on your nasal bridge, you can easily rediscover simple pleasures like wearing glasses and reading in comfort.
Peace and quiet
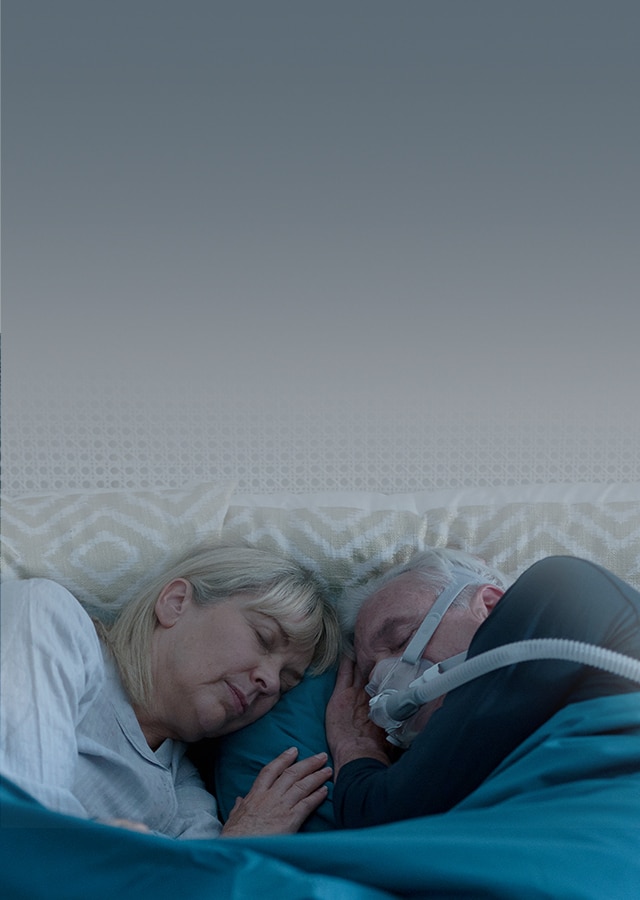
AirFit F30 with the QuietAir™ elbow is quieter than the leading ultra-compact full face mask competitor1. The QuietAir elbow gently and quietly diffuses exhaled air from your mask to create a quieter, more restful atmosphere with almost no noticeable drafts².
Nothing over your nose

The F30’s ultra-compact frame sits comfortably under your nose, not over it. Less facial contact looks good, feels good and means you can say goodbye to red marks and pressure on the bridge of your nose.
Shop online
Need new equipment, accessories or spare parts? It’s quick and convenient to shop on the ResMed online store from anywhere, at any time. Register for our membership programme and you’ll also receive information on our latest products and promotions.
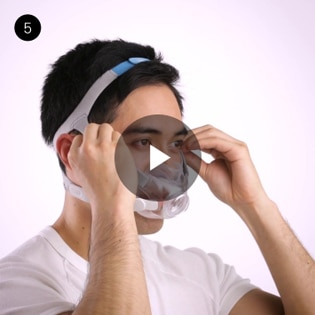
How do I fit my AirFit F30 mask?
How do I assemble/disassemble my AirFit F30 mask?
How do I maintain/clean my AirFit F30 mask?
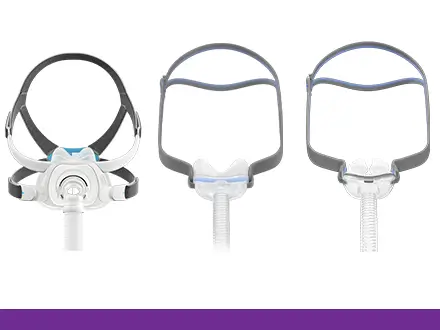
Interested in exploring other mask options?
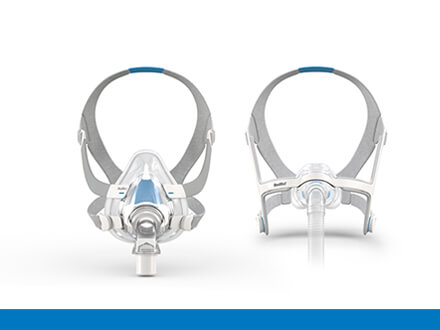
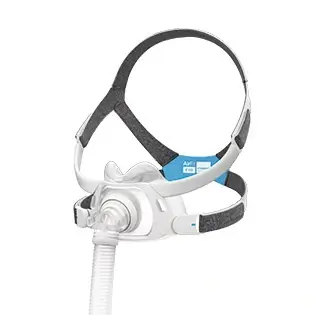
How do you sleep? What makes you feel more comfortable? Our mask categories help you identify a CPAP mask that matches your sleep needs and preferences.
Please refer to the user guides for relevant information related to any warnings and precautions to be considered before and during use of the products.
Contraindication
Masks with magnetic components are contraindicated for use by patients where they, or anyone in close physical contact while using the mask, have the following:
- Active medical implants that interact with magnets (i.e., pacemakers, implantable cardioverter defibrillators (ICD), neurostimulators, cerebrospinal fluid (CSF) shunts, insulin/infusion pumps)
- Metallic implants/objects containing ferromagnetic material (i.e., aneurysm clips/flow disruption devices, embolic coils, stents, valves, electrodes, implants to restore hearing or balance with implanted magnets, ocular implants, metallic splinters in the eye)
Warning
Keep the mask magnets at a safe distance of at least 6 inches (150 mm) away from implants or medical devices that may be adversely affected by magnetic interference. This warning applies to you or anyone in close physical contact with your mask. The magnets are in the frame and lower headgear clips, with a magnetic field strength of up to 400mT. When worn, they connect to secure the mask but may inadvertently detach while asleep. Implants/medical devices, including those listed within contraindications, may be adversely affected if they change function under external magnetic fields or contain ferromagnetic materials that attract/repel to magnetic fields (some metallic implants, e.g., contact lenses with metal, dental implants, metallic cranial plates, screws, burr hole covers, and bone substitute devices). Consult your physician and manufacturer of your implant / other medical device for information on the potential adverse effects of magnetic fields.
References:
- Sound power level with QuietAir of 21 dBA – AirFit F30 user guide, ResMed Pty Ltd 2019. ID A4500405.
- ResMed external 7-day clinical study of 21 ResMed and non-ResMed patients, conducted between 16/04/2018 – 05/05/2018. Data on file; ID A4356449.
Content last updated: 10/2023.
